
Add Digg vote on your posts
step #1
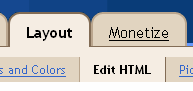
First, go to 'Layout' tab and choose the Edit HTML section ( Layout>Edit HTML )
Step #2.
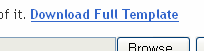
For this step you need to backup your template (click the 'Download Full Template' to backup your template)
Step #3.
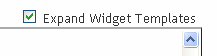
To start editing your template, please click the 'Expand Widget Templates'
Step #4.
Use Ctrl+F to find this code line:
<div class='post hentry'>
<a expr:name='data:post.id'/>
Step #5.
Paste the below code above that line:
- Code: Select all
<!-- syafzpic DIGG -->
<div style='float:right; margin-top:4px;'>
<script type='text/javascript'>
digg_url = "<data:post.url/>";
digg_skin = "compact";
digg_window = "new";
</script>
<script src='http://digg.com/tools/diggthis.js' type='text/javascript'></script>
</div>
Step #6.
Save.